

Windows 11 安装 Gemini-cli
Windows 11 安装 Gemini-cli
前置:
- 科学上网环境(VPN/代理)
- Node.js(版本要求:v20+)
- Git Bash 环境
安装 Gemini CLI
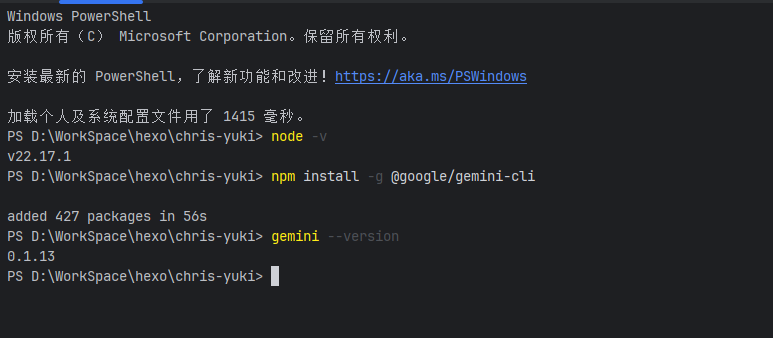
使用 npm 安装 Gemini CLI
1
npm install -g @google/gemini-cli查看 Gemini CLI 版本
1
gemini --version输出结果:
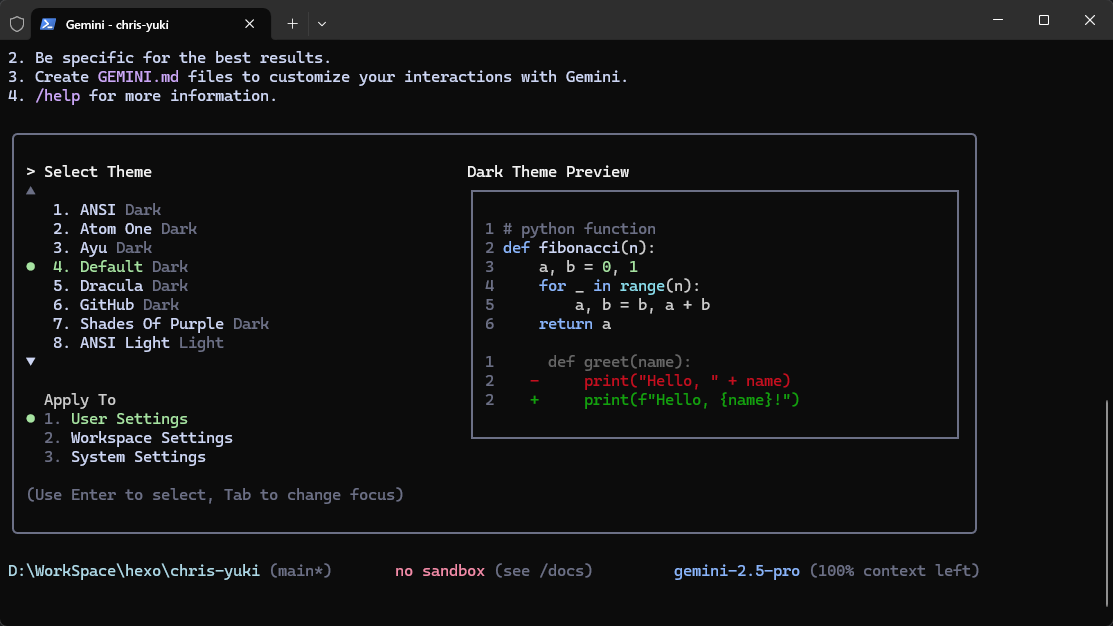
启动
1
gemini输出结果:
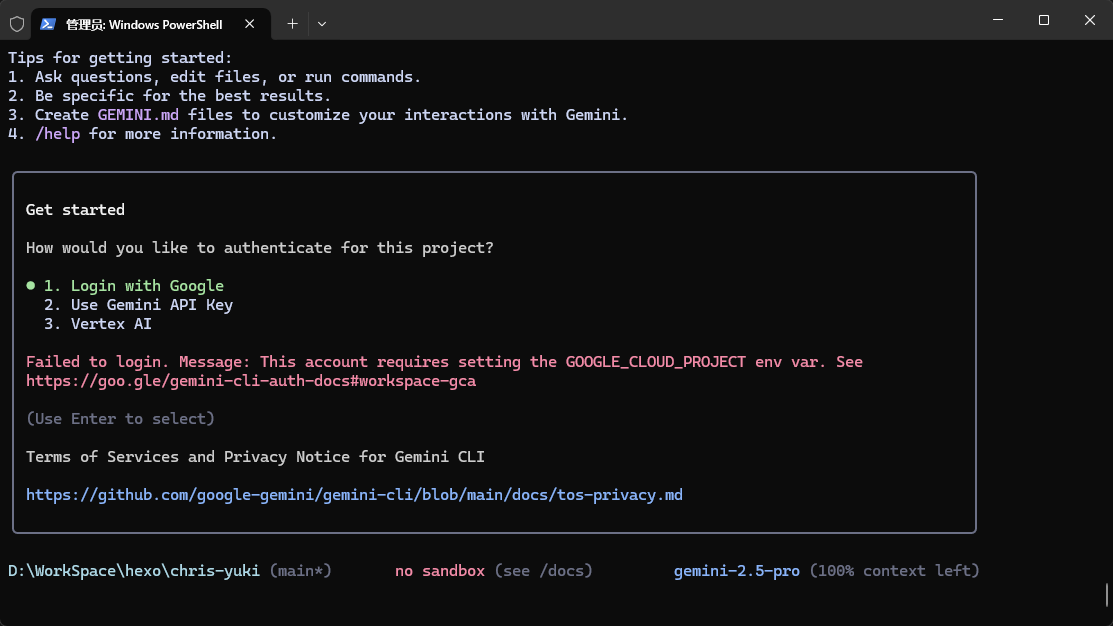
选择 Login with Google
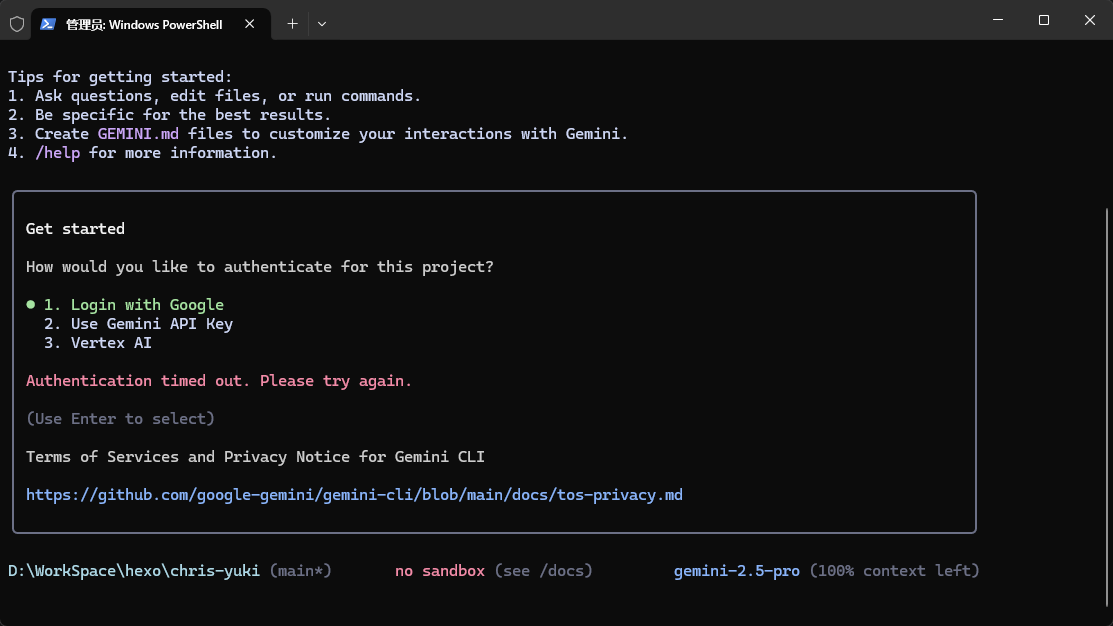
问题1:登录失败
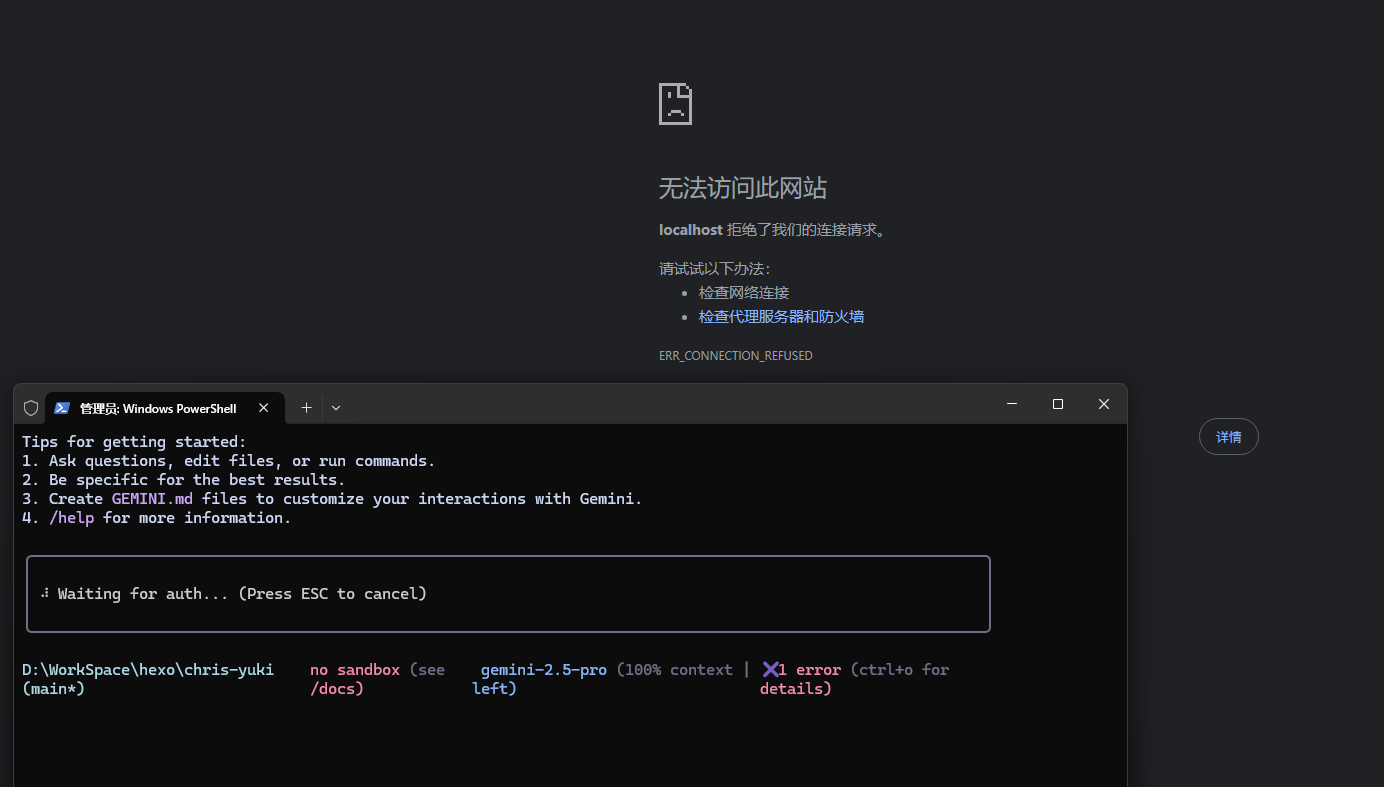
解决办法
- 科学环境不需要开启 tun 模式
- 在命令行中输入
1
2$env:https_proxy="http://127.0.0.1:10808"
$env:http_proxy="http://127.0.0.1:10808"
问题2:缺少环境变量提示
错误提示:│ Failed to login. Message: This account requires setting the GOOGLE_CLOUD_PROJECT env var.│
创建并获取您的 Gemini API Key
进入 %USERPROFILE%/.gemini 目录
创建一个名为 .env 的文件,并添加以下内容
访问:https://console.cloud.google.com/1
GOOGLE_CLOUD_PROJECT=<你的项目编号>保存并退出,然后重新运行 gemini 登录

(进阶)设置终端代理
- 打开一个 PowerShell 终端。
- 执行以下命令。它会自动检查配置文件是否存在,如果不存在,则会创建它:
1
if (-not (Test-Path $profile)) { New-Item $profile -Force } - 然后,使用这条命令可以直接用默认程序打开这个配置文件:
1
Invoke-Item $profile - 在配置文件中添加以下内容:
1
2
3
4
5
6
7
8
9
10
11
12
13
14
15
16
17
18
19
20
21
22
23
24
25
26
27
28
29
30
31
32
33
34
35
36
37
38
39
40
41
42
43
44
45
46
47
# --- 简单可靠的代理检测与设置 ---
function Set-Proxy-Directly {
$proxyHost = "127.0.0.1"
$proxyPort = 10808
$proxyUrl = "http://$($proxyHost):$($proxyPort)"
$timeoutMilliseconds = 500 # 设置一个较短的超时时间
# 定义一个变量,以便在 finally 块中访问
$tcpClient = $null
try {
# 使用一个轻量级的TCP客户端来测试连接
$tcpClient = New-Object System.Net.Sockets.TcpClient
$connectionResult = $tcpClient.BeginConnect($proxyHost, $proxyPort, $null, $null)
$success = $connectionResult.AsyncWaitHandle.WaitOne($timeoutMilliseconds)
if ($success) {
$tcpClient.EndConnect($connectionResult)
$env:http_proxy = $proxyUrl
$env:https_proxy = $proxyUrl
Write-Host "✅ 代理服务已激活,并成功设置为: $proxyUrl" -ForegroundColor Green
} else {
$env:http_proxy = ""
$env:https_proxy = ""
Write-Host "🔌 代理服务无响应,代理设置已清除。" -ForegroundColor Yellow
}
}
catch {
# 如果在尝试过程中发生任何其他错误,则执行这里
# 这是您之前版本中缺失的部分
$env:http_proxy = ""
$env:https_y = ""
Write-Host "⚠️ 检测代理时发生错误,代理设置已清除。" -ForegroundColor Red
}
finally {
# 无论成功与否,都确保关闭和释放客户端资源
# 这也是您之前版本中缺失的部分
if ($tcpClient -ne $null) {
$tcpClient.Close()
}
}
}
# --- 执行函数 ---
# 每次启动新的 PowerShell 会话时,都会运行此检查
Set-Proxy-Directly - 保存并重新运行终端:
如下即为成功: